In previous posts I introduced the .NET nanoFramework port to POSIX [.NET nanoFramework running on Linux and NuttX](https://microhobby.com.br/blog/ 2021/06/24/portando-net-nanoframework-to-linux-e-nuttx/). And for those who watched the second day of the NuttX Online Workshop saw some spoilers, like .NET running on StartFive JH7100 and on a ESP32- C3. What do these boards have in common?
Here is the list of platforms that I tested the initial support (these are the RISC-V boards that I have available here on my workbench 😅):
-
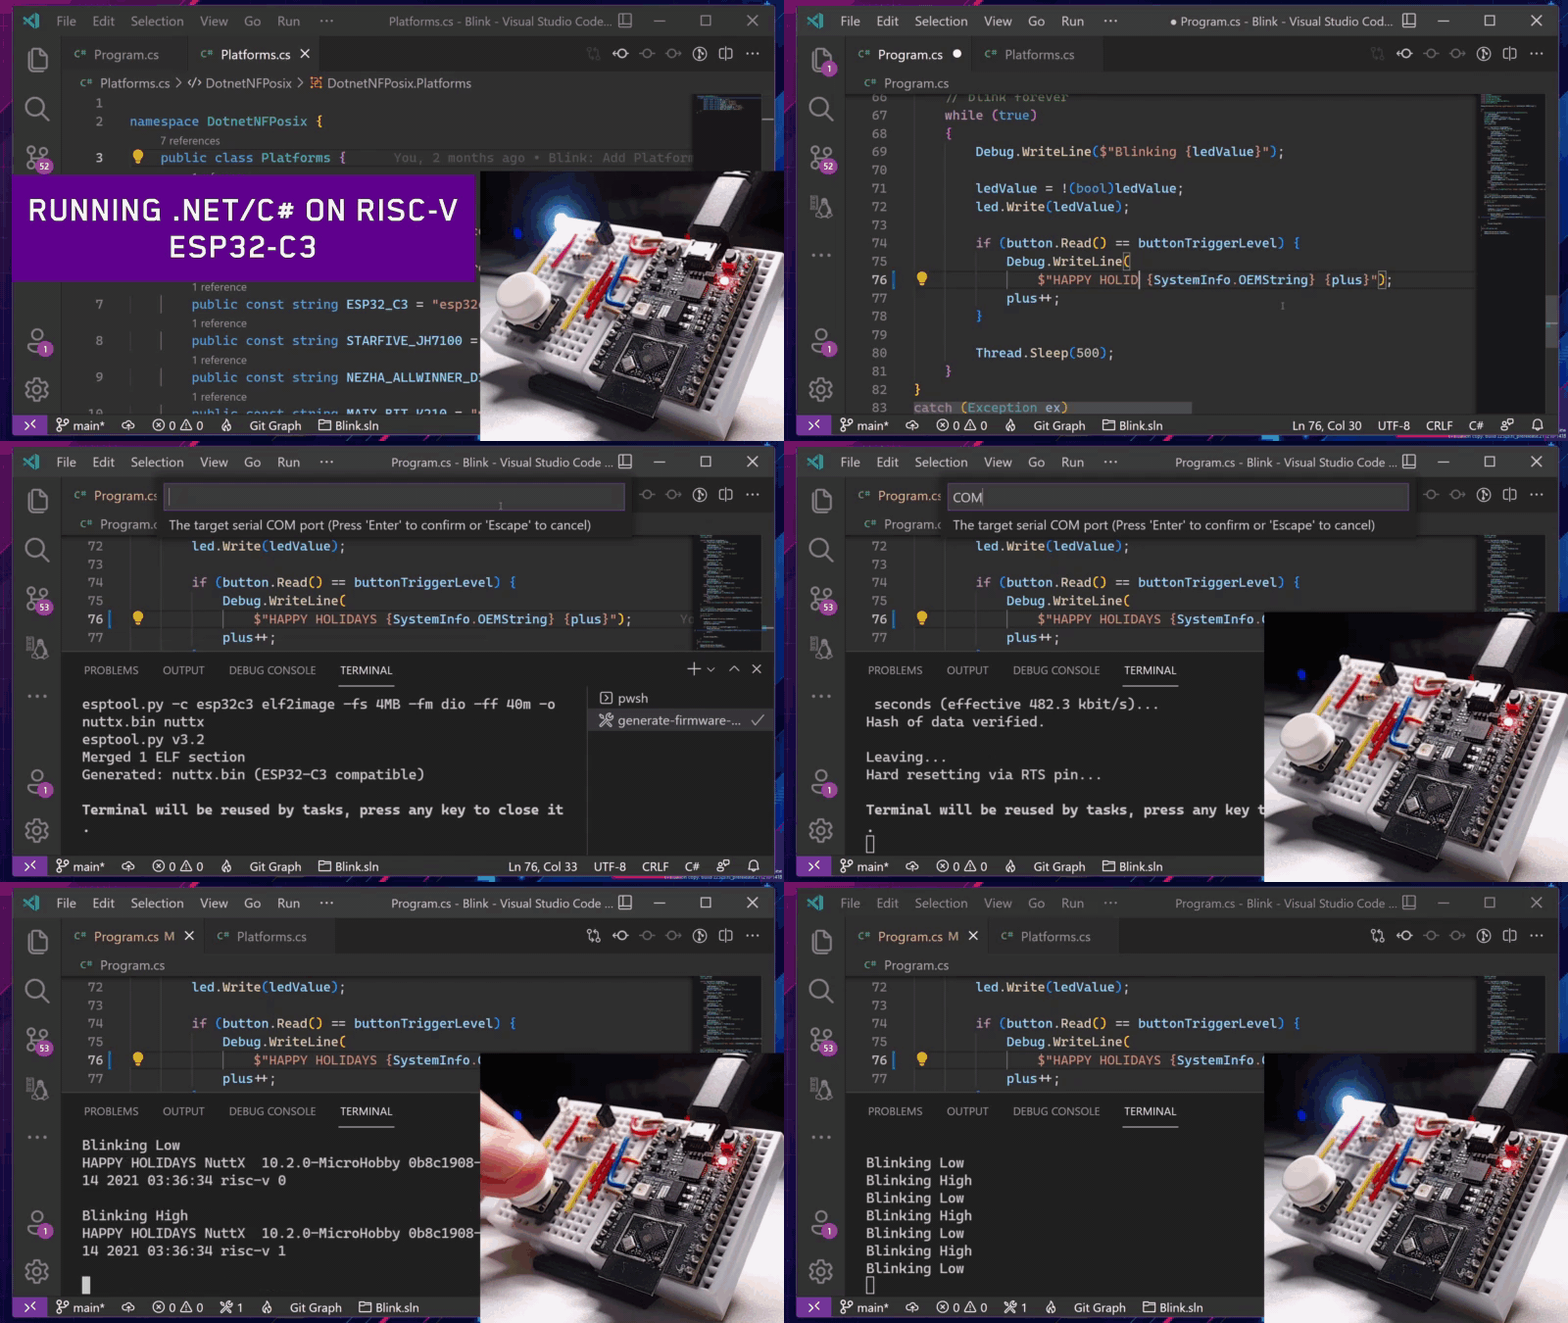
Espressif ESP32-C3 (32-bit core RISC-V microcontroller)
-
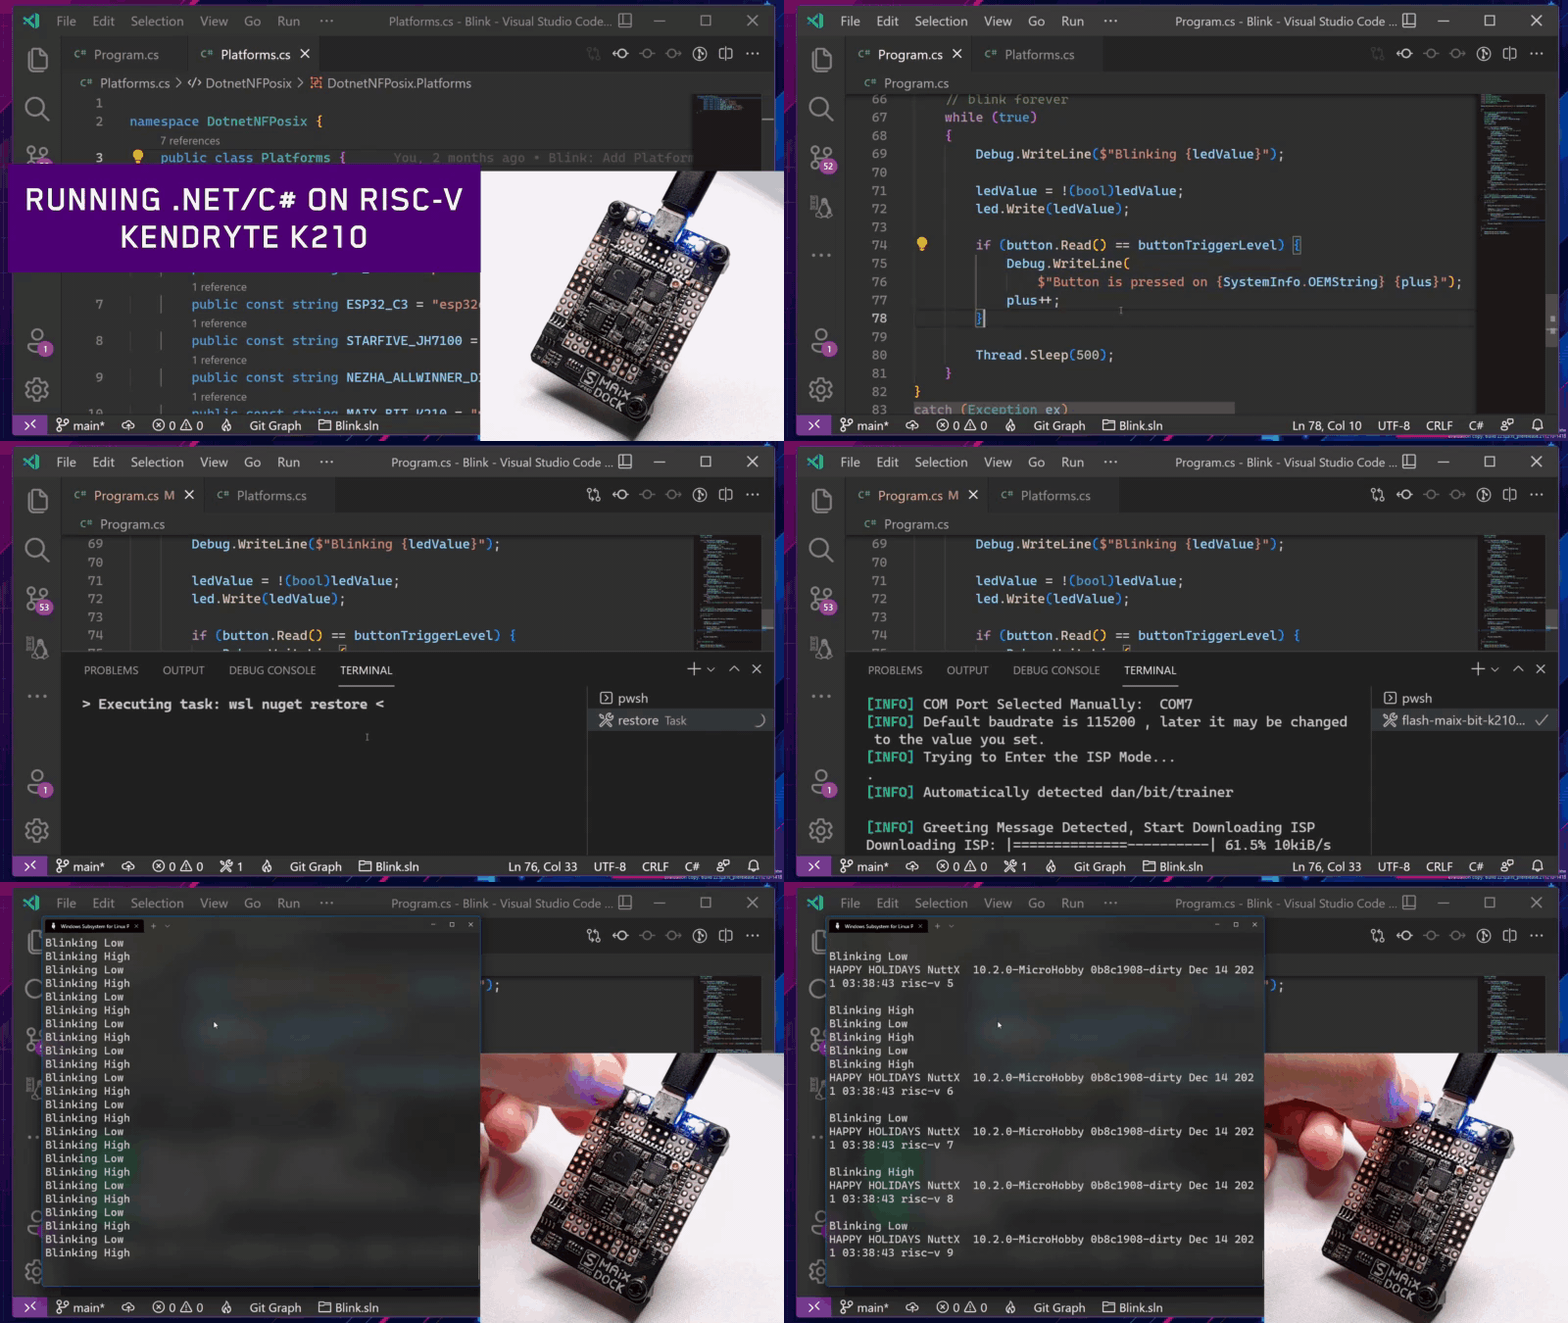
Kendryte K210 (RISC-V Dual Core 64bit microcontroller)
-
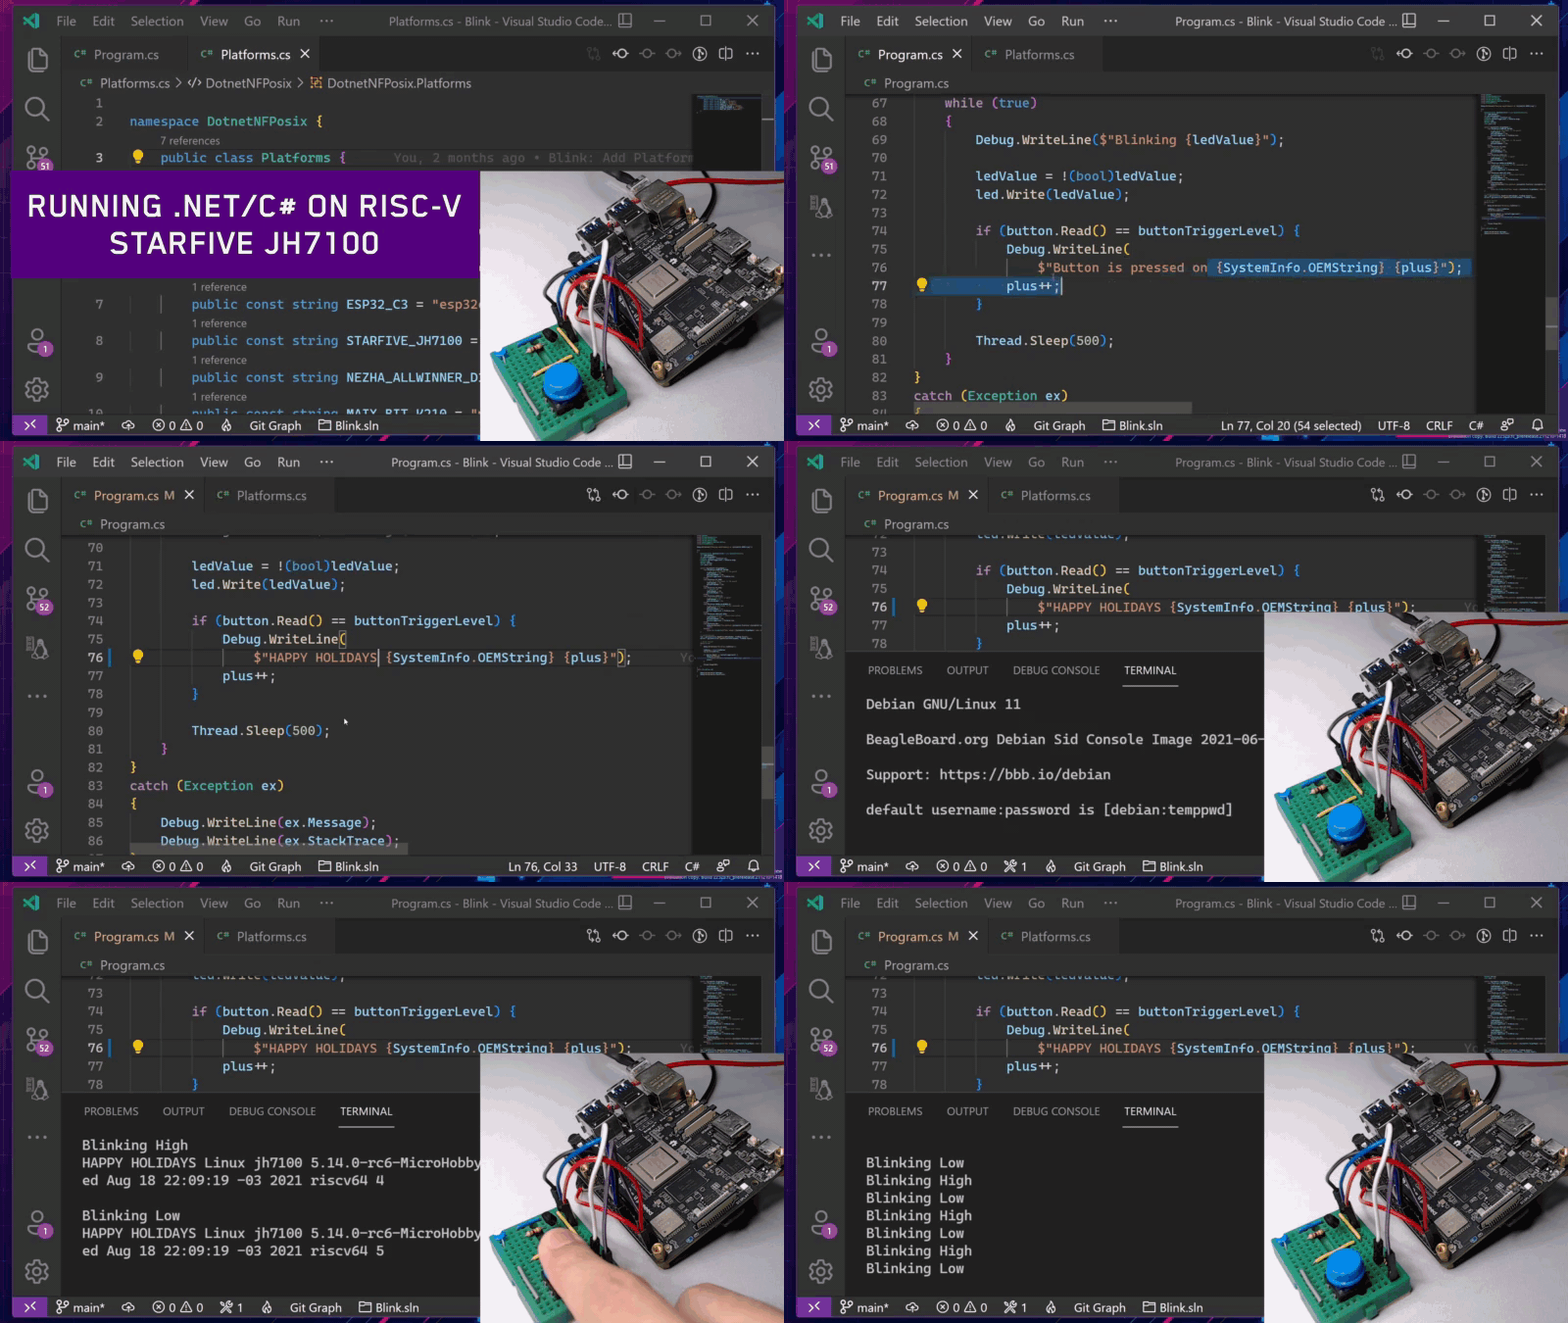
StarFive JH7100 (RISC-V U74 Dual Core microprocessor)
-
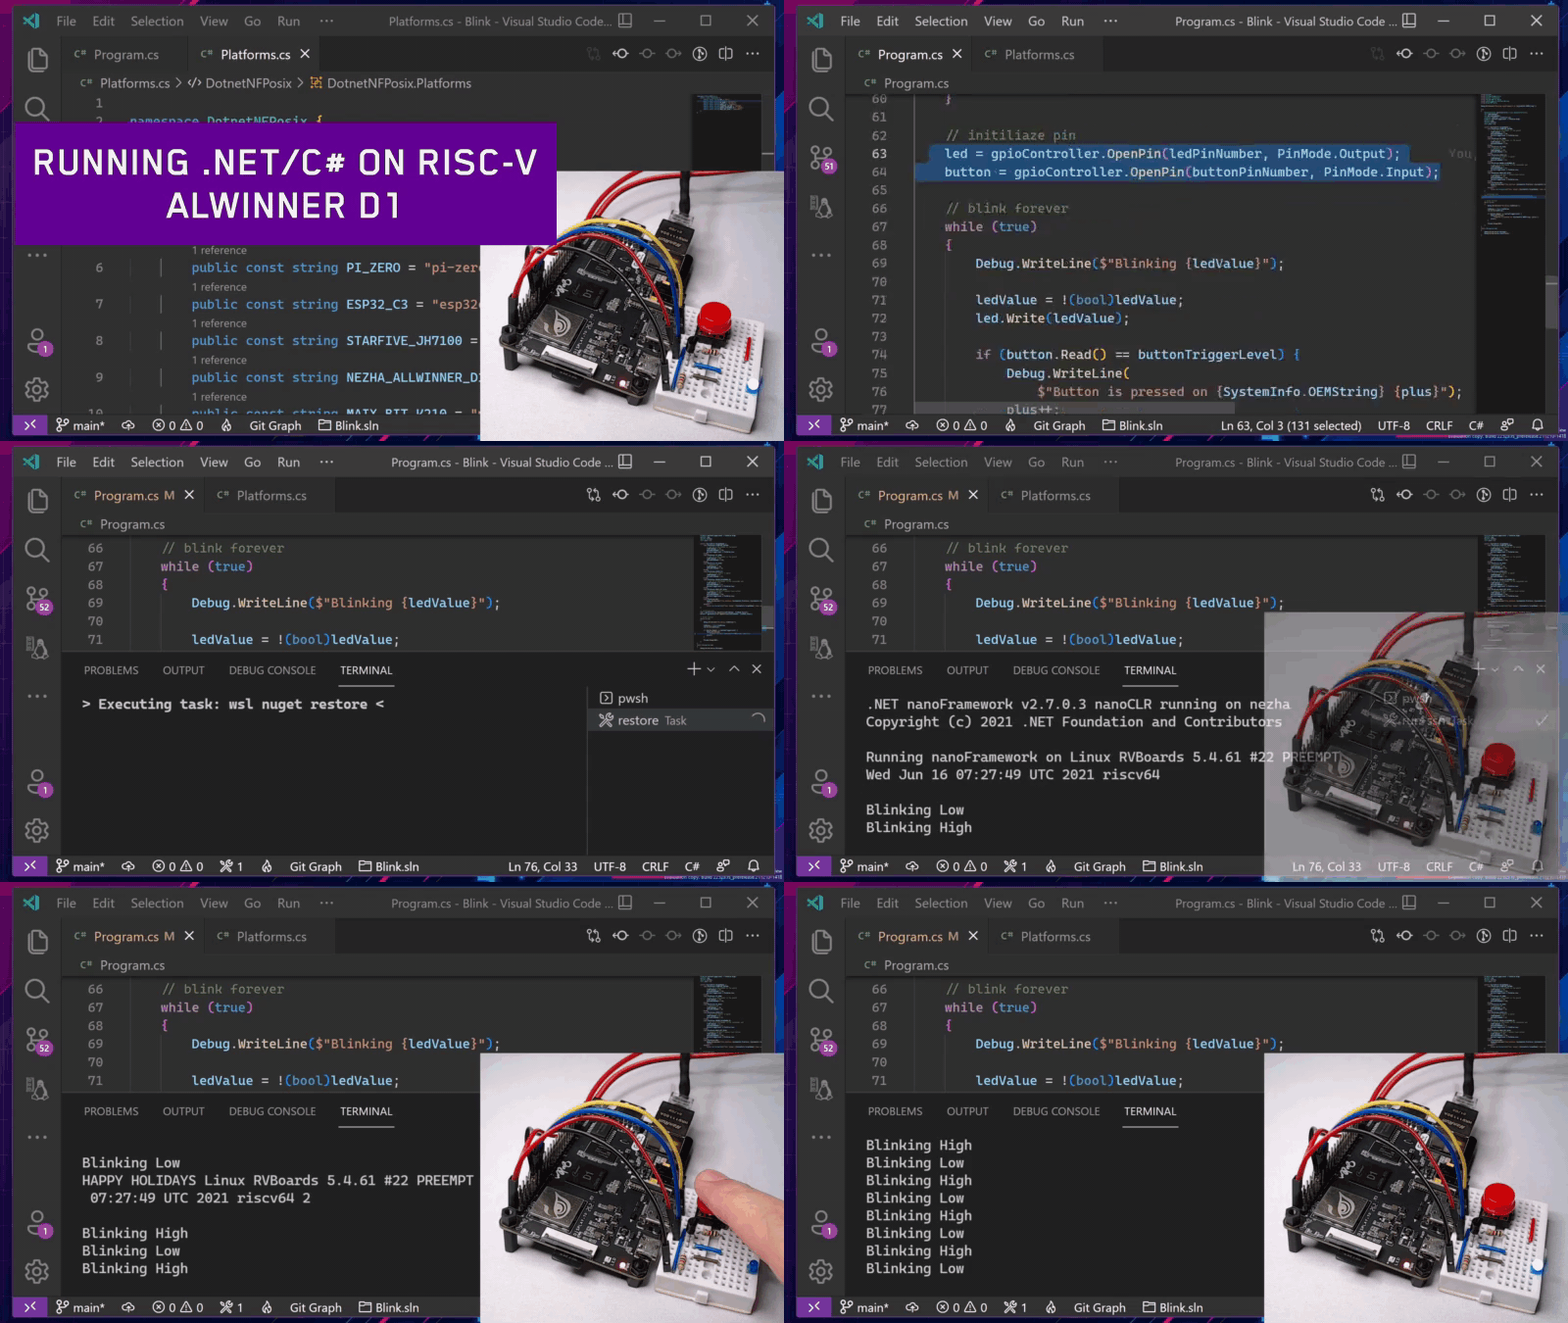
Allwinner D1 (RISC-V 64bit C906 Core microprocessor)
Since I started porting .NET nanoFramework to POSIX one of my goals was also to have the opportunity to run .NET in RISC-V architecture. With the POSIX port this was "easy". I can cross-compile the nanoFramework to Linux RISC-V and the RISC-V platforms that NuttX supports.
To demonstrate the .NET nanoFramework running on RISC-V hardware let's do the usual: blink LEDs. I'm using the following project https://github.com/dotnuttx/nanoFrameworkPOSIX-samples/tree/main/Blink. I had used this example before for Raspberry Pi Zero and Raspberry Pi Pico, but now we have 4 new targets in Platforms.cs:
namespace DotnetNFPosix {
    public class Platforms {
        public const string WSL = "wsl";
        public const string PI_PICO = "pi-pico";
        public const string PI_ZERO = "pi-zero";
        public const string ESP32_C3 = "esp32c3";
        public const string STARFIVE_JH7100 = "jh7100";
        public const string NEZHA_ALLWINNER_D1 = "nezha";
        public const string MAIX_BIT_K210 = "maix-bit";
    }
}
And in Program.cs 4 new cases respectively to get and store the hardware data:
        case Platforms.STARFIVE_JH7100:
            // pin 16 in the header is the gpio21
            ledPinNumber = 21;
            buttonPinNumber = 19;
            buttonTriggerLevel = PinValue.Low;
        break;
        case Platforms.ESP32_C3:
            // pin 6 from DevKit is gpio8
            ledPinNumber = 7;
            buttonPinNumber = 4;
        break;
        case Platforms.NEZHA_ALLWINNER_D1:
            // pin 16 in the header is the ioexpander pp1
            ledPinNumber = 1;
            buttonPinNumber = 2;
            buttonTriggerLevel = PinValue.Low;
        break;
        case Platforms.MAIX_BIT_K210:
            // onboard rgb blue / onboard boot button
            ledPinNumber = 12;
            buttonPinNumber = 16;
            buttonTriggerLevel = PinValue.Low;
        break;
As you can see in addition to blink LEDs we will also have a button input. These data will be used to configure the pins correctly for each target, at the end the system goes into an infinite loop to check the input signal and blink the LED every 500ms:
    // initiliaze pin
    led = gpioController.OpenPin(ledPinNumber, PinMode.Output);
    button = gpioController.OpenPin(buttonPinNumber, PinMode.Input);

    // blink forever
    while (true)
    {
        Debug.WriteLine($"Blinking {ledValue}");

        ledValue = !(bool)ledValue;
        led.Write(ledValue);

        if (button.Read() == buttonTriggerLevel) {
            Debug.WriteLine(
                $"Button is pressed on {SystemInfo.OEMString} {plus}");
            plus++;
        }

        Thread.Sleep(500);
    }
⚠️ If you want to run the demo you need the following dependencies:
For Linux (Ubuntu or another Debian based preference)
docker
mono-complete
nuget
For Windows
Docker Desktop
WSL 2 (Ubuntu or Debian)
mono-complete
nuget
To compile, flash and run the demo for ESP32-C3 we will use the tasks already configured in the project for the VS Code. Run the flash-esp32c3 task, this task has dependencies and will automatically run the following sequence: restore -> build -> generate-firmware-esp32c3 -> flash-esp32c3. When running the task the VS Code will show an input box for ESP32-C3 serial port, so after that the firmware flash is executed.
⚠️ The file in.vscode/tasks.jsonis configured for commands starting withwslon Windows. If you are using Linux modify the file so that thecommandproperty are instead ofwslthe first argument ofargsof the respective task.
⚠️ flash-esp32c3depends onesptoolinstall it withpip install esptool
If all went well you should have your ESP32-C3 blinking LEDs. You can also connect to serial to check the output, when the button is pressed the NuttX version will be printed in the output:
For the K210 we have the flash-maix-bit-k210 task. This task will run restore -> build -> generate-firmware-k210 -> flash-maix-bit-k210. When running the task the VS Code will show an input box for the serial port of the Maix Dock, so after that the firmware flash is executed.
⚠️ flash-maix-bit-k210depends onkflashinstall it withpip install kflash
If everything went well you should have your Max Dock blinking the onboard blue LED. You can also connect to serial to check the output, when the onboard BOOT button is pressed the NuttX version will be printed in the output:
For the Nezha Dev board we have the run-ssh task. This task will run restore -> build -> deploy-ssh -> run-ssh. When running the task the VS Code will show an input box for username and another one for ip or hostname, these will be inputs for the ssh connection to the board, so that the .pe assemblies are copied and executed on the board.
If everything worked out you should have your Nezha Dev Board blinking the LED and when the button is pressed the Linux version will be printed in the out
For the StarFive JH7100 (I'm using the unfortunately deprecated Beagle-V beta for my testing with this SoC) we're also going to run the run-ssh task. No secret, enter the username and address or hostname of the board and you're done.
If everything worked out you should have the JH7100 blinking the LED and when the button is pressed the Linux version will be printed in the output:
These ports were pretty straightforward, with the Linux and NuttX port already "validated" before, it was more a matter of setting the environment for each platform and build the system. The only one that took work was the K210. It seems that .NET nanoFramework does not support 64bit architectures. The ESP32-C3 is a 32bit RISC-V, so the port for it was pretty straightforward and hassle-free. For Linux I had added a workaround 😅, which added support for 64bits, but which as a side effect generated non-aligned memory accesses (bad Matheus 😈). Linux has traps for non-aligned accesses and fixes the access during program execution, so no problems (very bad Matheus 😝). But for the K210 I used NuttX, NuttX doesn't seem to have these traps implemented and a non-aligned access generates a "panic" in the system. You can implement and use Linux traps as a base (there is even Linux "no MMU" for the K210). But I thought better and now, in my .NET nanoFramework fork, we support 64bit architectures (hopefully in the future I will contribute this to the upstream). Besides, the operating system traps have to handle exceptions and switch context for each unaligned access, it's much less efficient than your program accessing the aligned memory properly.
Maybe you're wondering what this is all about or where I want to go with this project. For now my answer is: "for fun". Whenever I put these challenges in my head ("oh, let's run .NET on Raspberry Pi Pico", "oh, let's run .NET on RISC-V") I learn a lot and also I have a lot of stress fun in the process. No ambitions here.
That's it, if you enjoyed seeing .NET nanoFramework running on RISC-V hardware let me know. Send me a hello on Twitter @math_castello or Linkedin 👍
Merry Christmas and Happy Holidays! 🎅

